DELAND CRAVEN

DEEP DIVES

Eurorack, meet DMX

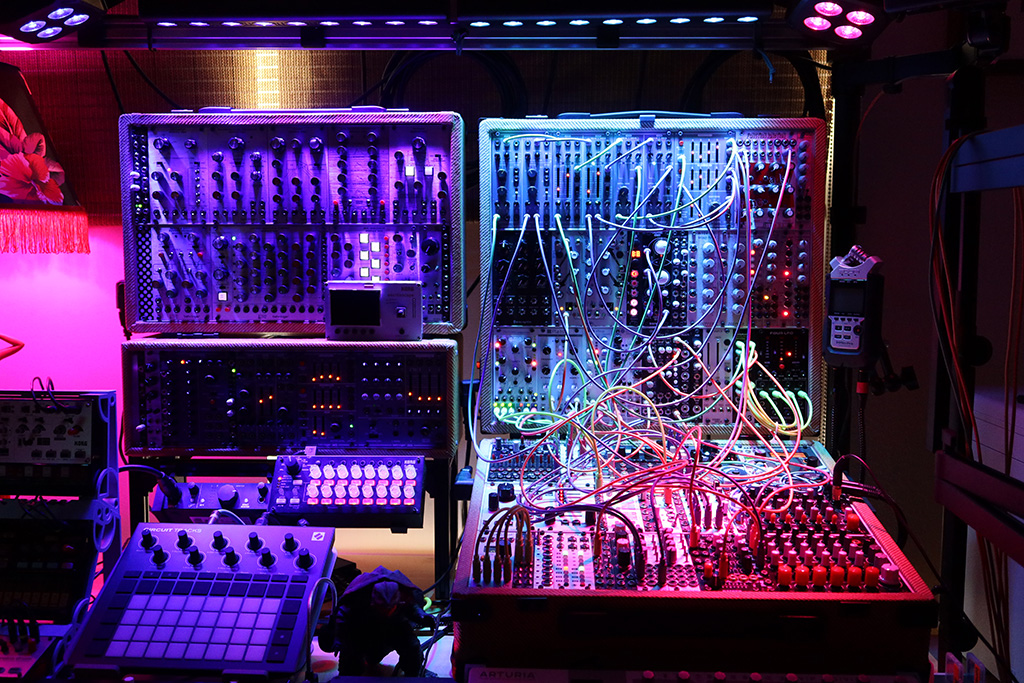
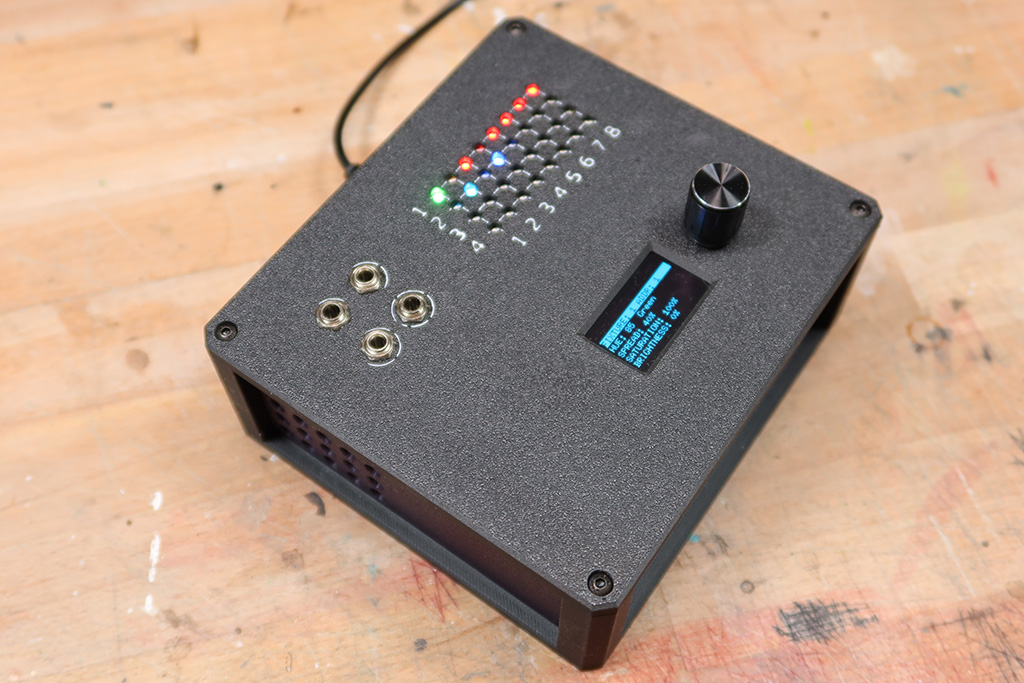
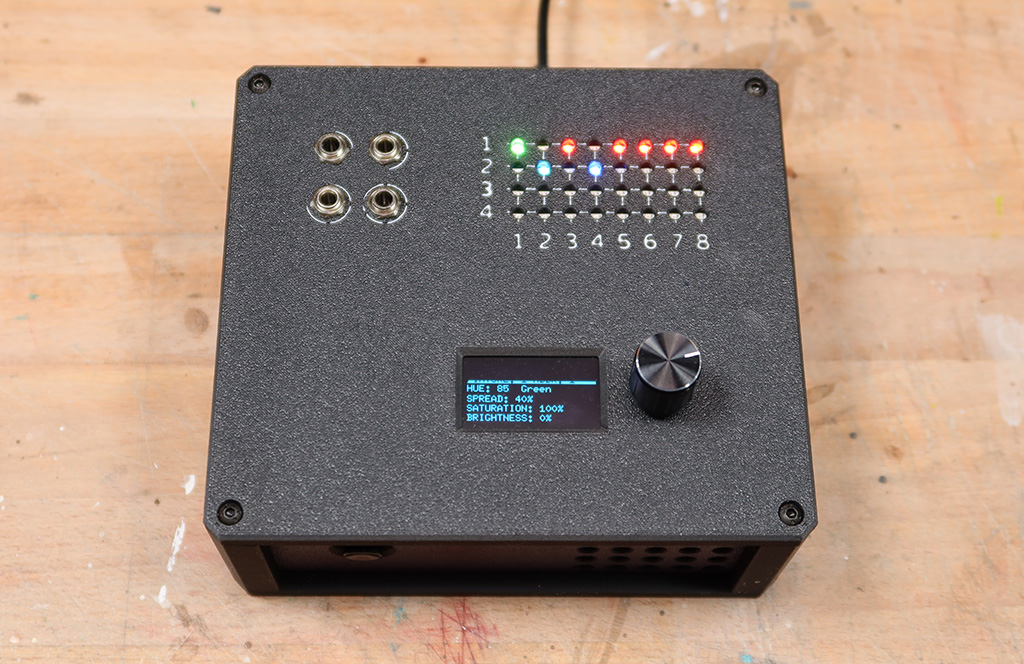
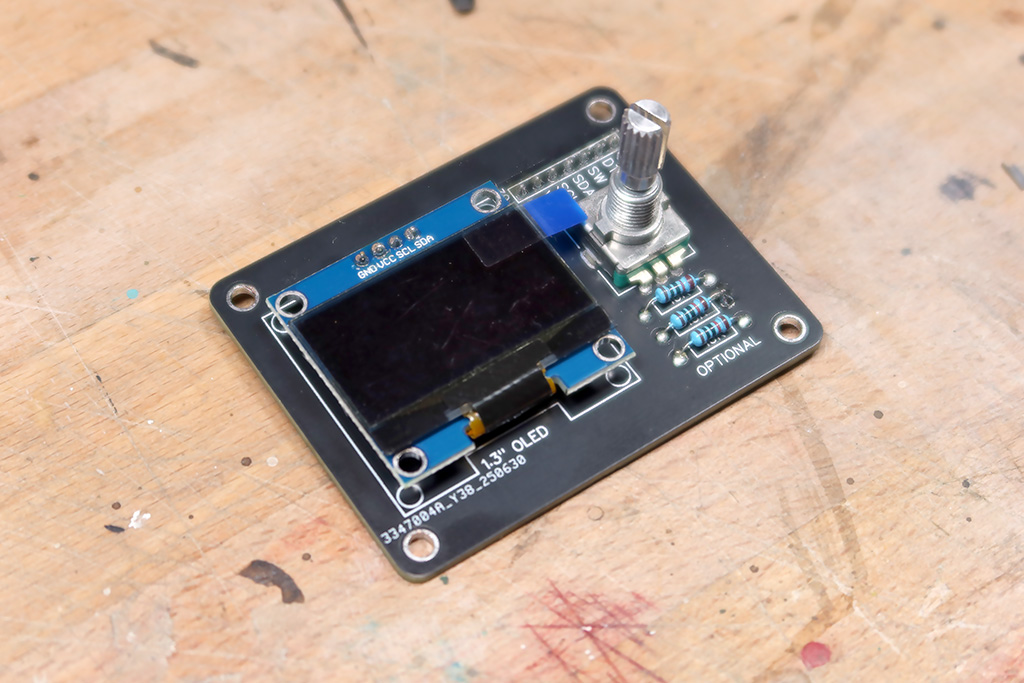
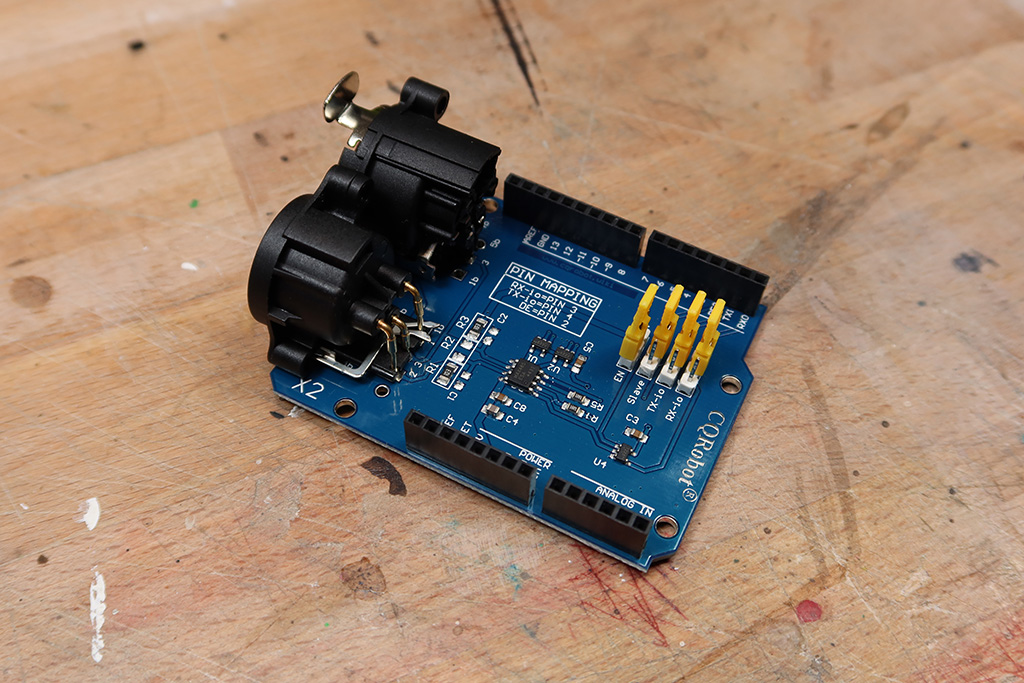
Modular synths are already expressive instruments—but what if they could also control lighting in real time? This project explores that question by turning raw analog voltage into a tool for sculpting light and mood. Using DMX, CV, and a healthy dose of trial and error, I built a system where performance and visual storytelling can truly play together. 

Imagine it

In a modular setup, control voltage (CV) already drives everything—oscillators, filters, envelopes, triggers. For many performers—especially in modular or solo setups—lighting is reactive, offloaded, and choreographed separately. It’s more stagecraft than instrument, and often too complex to fit in the artist’s toolkit.

I wanted to change that.

The idea was to treat light as a playable instrument—one that responds with nuance, evolves with expression, and enhances the emotional impact of music. Using LFOs, envelopes, gates, and triggers, I set out to create a bridge between audio synthesis and visual storytelling.

The result is a fully modular DMX lighting controller designed to work hand-in-hand with Eurorack gear—enabling artists and performers to sculpt not just sound, but atmosphere. 

Map it out

Before I could make magic, I had to make a map. This project needed more than just blinking lights—it required a thoughtful blend of electronics, interface, and control.

At the heart of the system is a microcontroller, handling everything from menu navigation to DMX output. A small OLED screen provides visual feedback, while a rotary encoder lets me dial in settings on the fly.

To read control voltage from Eurorack gear, I added a high-resolution ADC, the ADS1115. But Eurorack signals can be wild—±5V, ±10V, gates, triggers—so I built custom op-amp circuits to scale and bias those voltages into safe, Arduino-friendly levels.

Lighting data flows through a DMX transceiver, letting me control any standard DMX fixture with precision. And because performance setups can’t afford to lose their memory, I used EEPROM to store all the patch settings between sessions.

Every part had to speak the same language, share the same timing, and stay out of the way when it wasn’t needed. It wasn’t just a build—it was a balancing act between flexibility, safety, and ease of use. 

Core components

  • Microcontroller (Arduino Mega) – The brain of the system, managing UI, DMX output, and modulation logic.
  • DMX Transceiver (e.g. MAX485) – Converts serial output into DMX signal to control lighting fixtures.
  • OLED Display (SH1106) – Provides a live menu interface for quick edits and visual feedback.
  • Rotary Encoder + Pushbutton – Used to navigate and adjust menu settings during performance.
  • ADS1115 ADC – High-resolution analog-to-digital converter to read CV inputs with precision.
  • Op-Amp Signal Conditioner – Biases and attenuates Eurorack signals (±5V to ±10V) to 0–5V safe input levels.
  • EEPROM (onboard) – Stores patch settings and parameters across power cycles.
  • Custom PCB – Integrates the entire system into a compact, reliable hardware interface.

Engineer it

Once the vision was clear, it was time to make it real.
 
I started—like most good experiments—on a breadboard. Testing signal flow, conditioning op-amp circuits, and verifying that Eurorack control voltages could safely talk to a microcontroller. From there, I moved into PCB design, creating custom boards for both the signal inputs and the user interface.
 
The enclosure came next. It had to hold a lot: the Arduino Mega, DMX driver board, op-amp PCB, OLED/encoder PCB, and a momentary switch for programming. It also needed to look good on a synth table, take a beating, and feel like a finished instrument—not a prototype in a box. I modeled the case in 3D, printed multiple iterations, and kept tweaking until everything fit together like a proper performance tool.
 
And then… coding. So much coding. The firmware had to do a lot: handle UI navigation, manage DMX output, interpret modulation sources, apply effects, and save everything to memory. The user interface needed to be responsive, flexible, and easy enough to use mid-patch without losing the vibe. 

Testing followed—across multiple fixtures, modulation sources, and voltage ranges. And once everything was dialed in, I designed a full instruction manual to make setup and use as smooth and intuitive as possible. 

Experience it

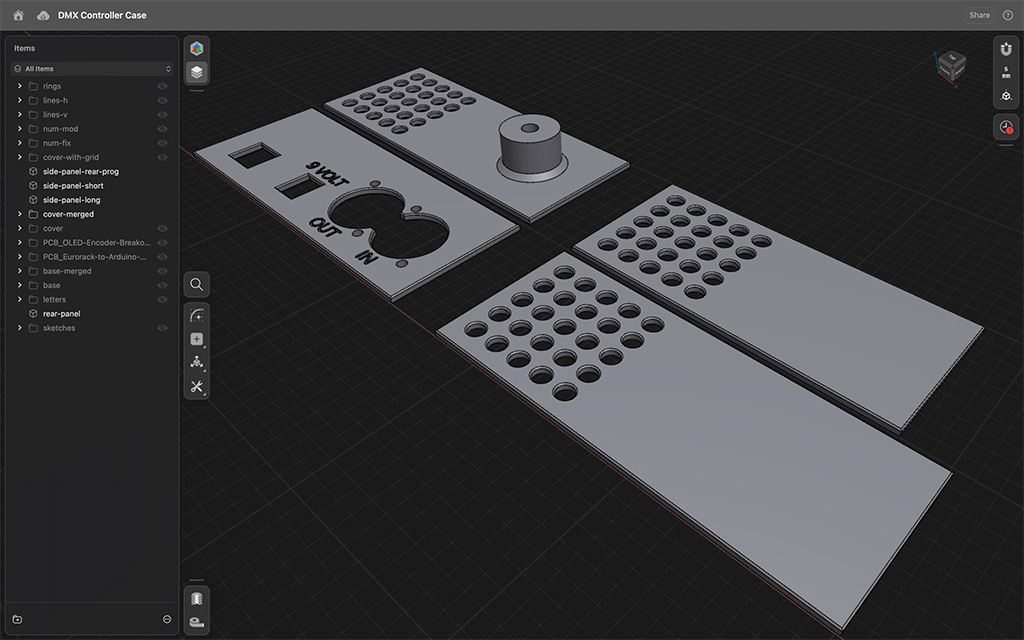
This project wasn’t just about building a tool—it was about building an experience. For performers, it means reclaiming lighting as part of their creative palette. No more passive light shows or offloaded control. With this system, light becomes playable, expressive, and deeply tied to sound.

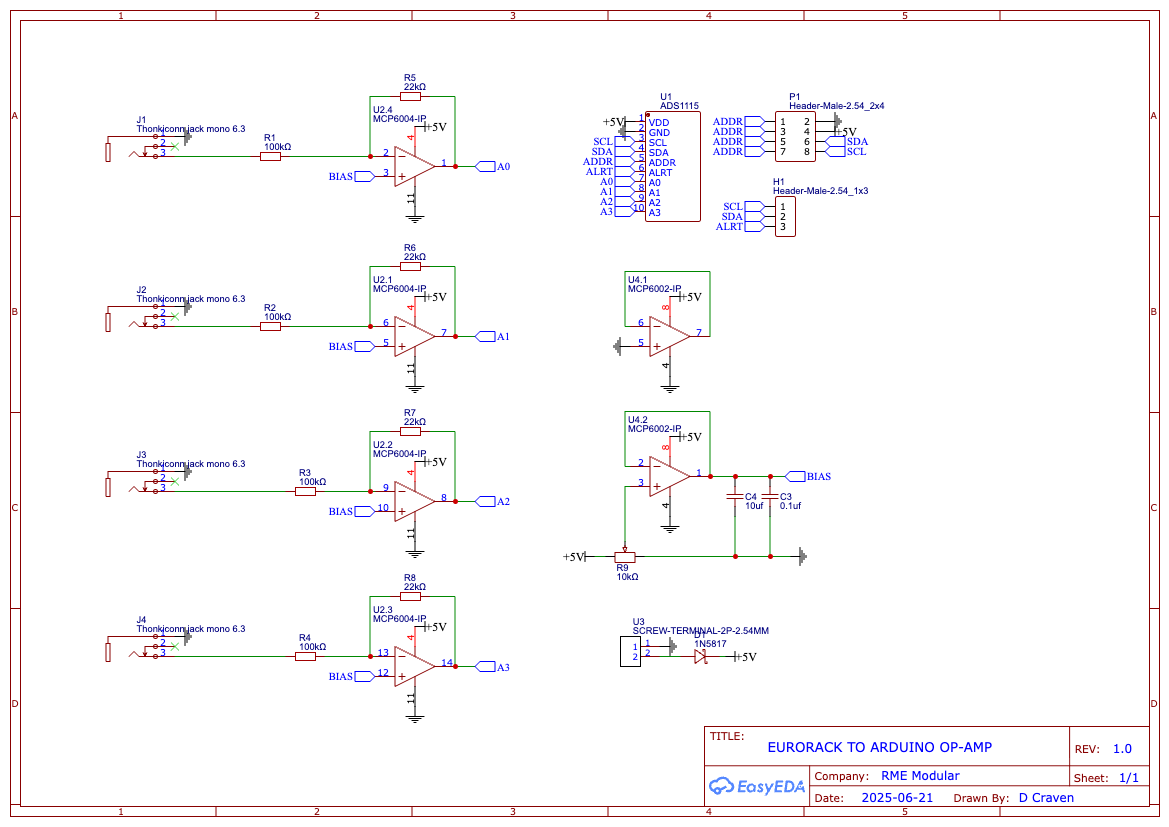
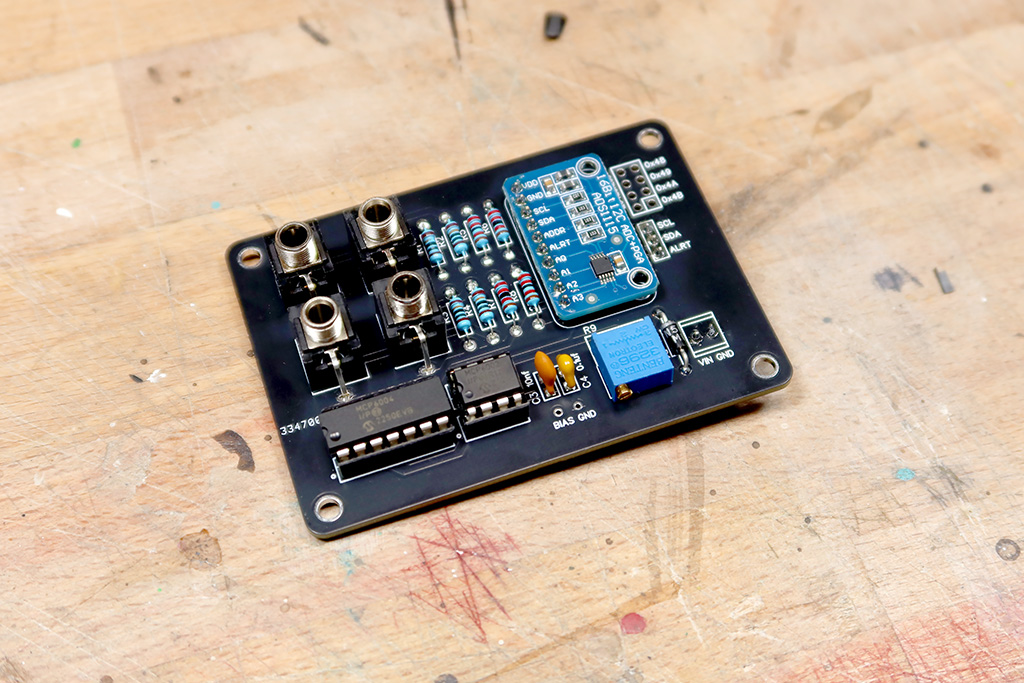
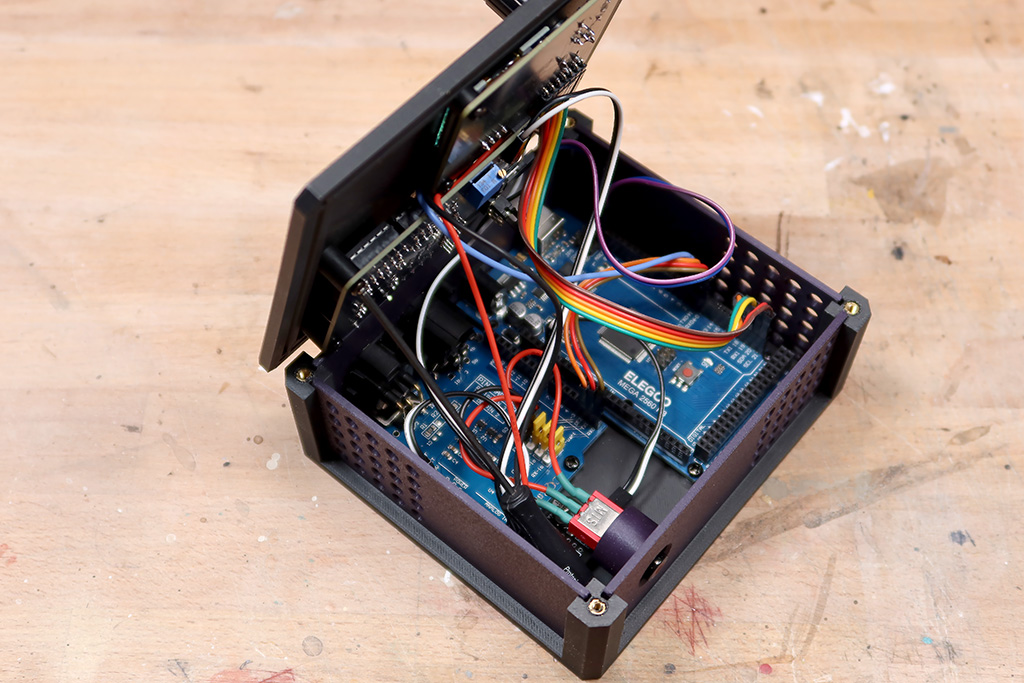
And for me, it was a deep dive into unfamiliar territory. Signal conditioning and op-amp design were brand new. I’d never wrestled with such a wild range of voltages or needed such precise control over analog inputs. I tried everything—from clamping diodes to divider networks—before finally landing on an op-amp strategy that worked across bipolar, unipolar, and high-voltage Eurorack signals.

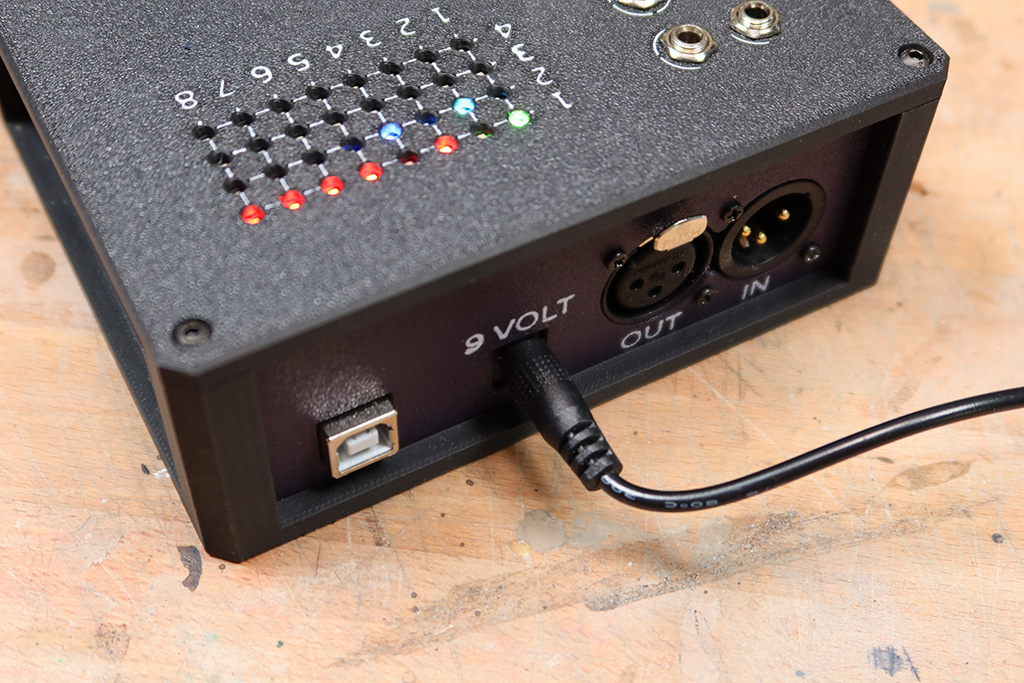
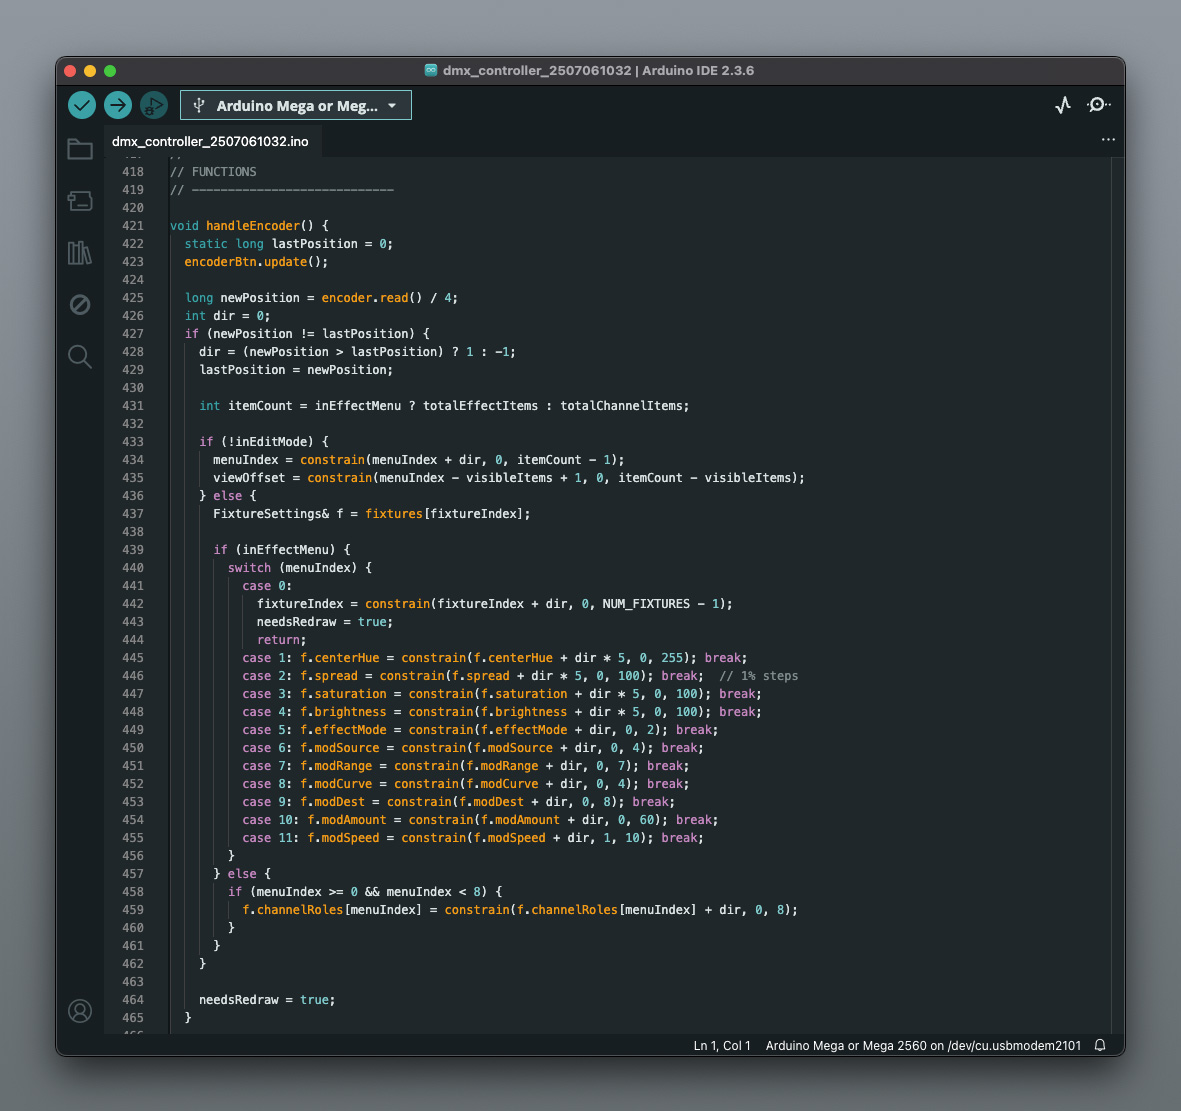
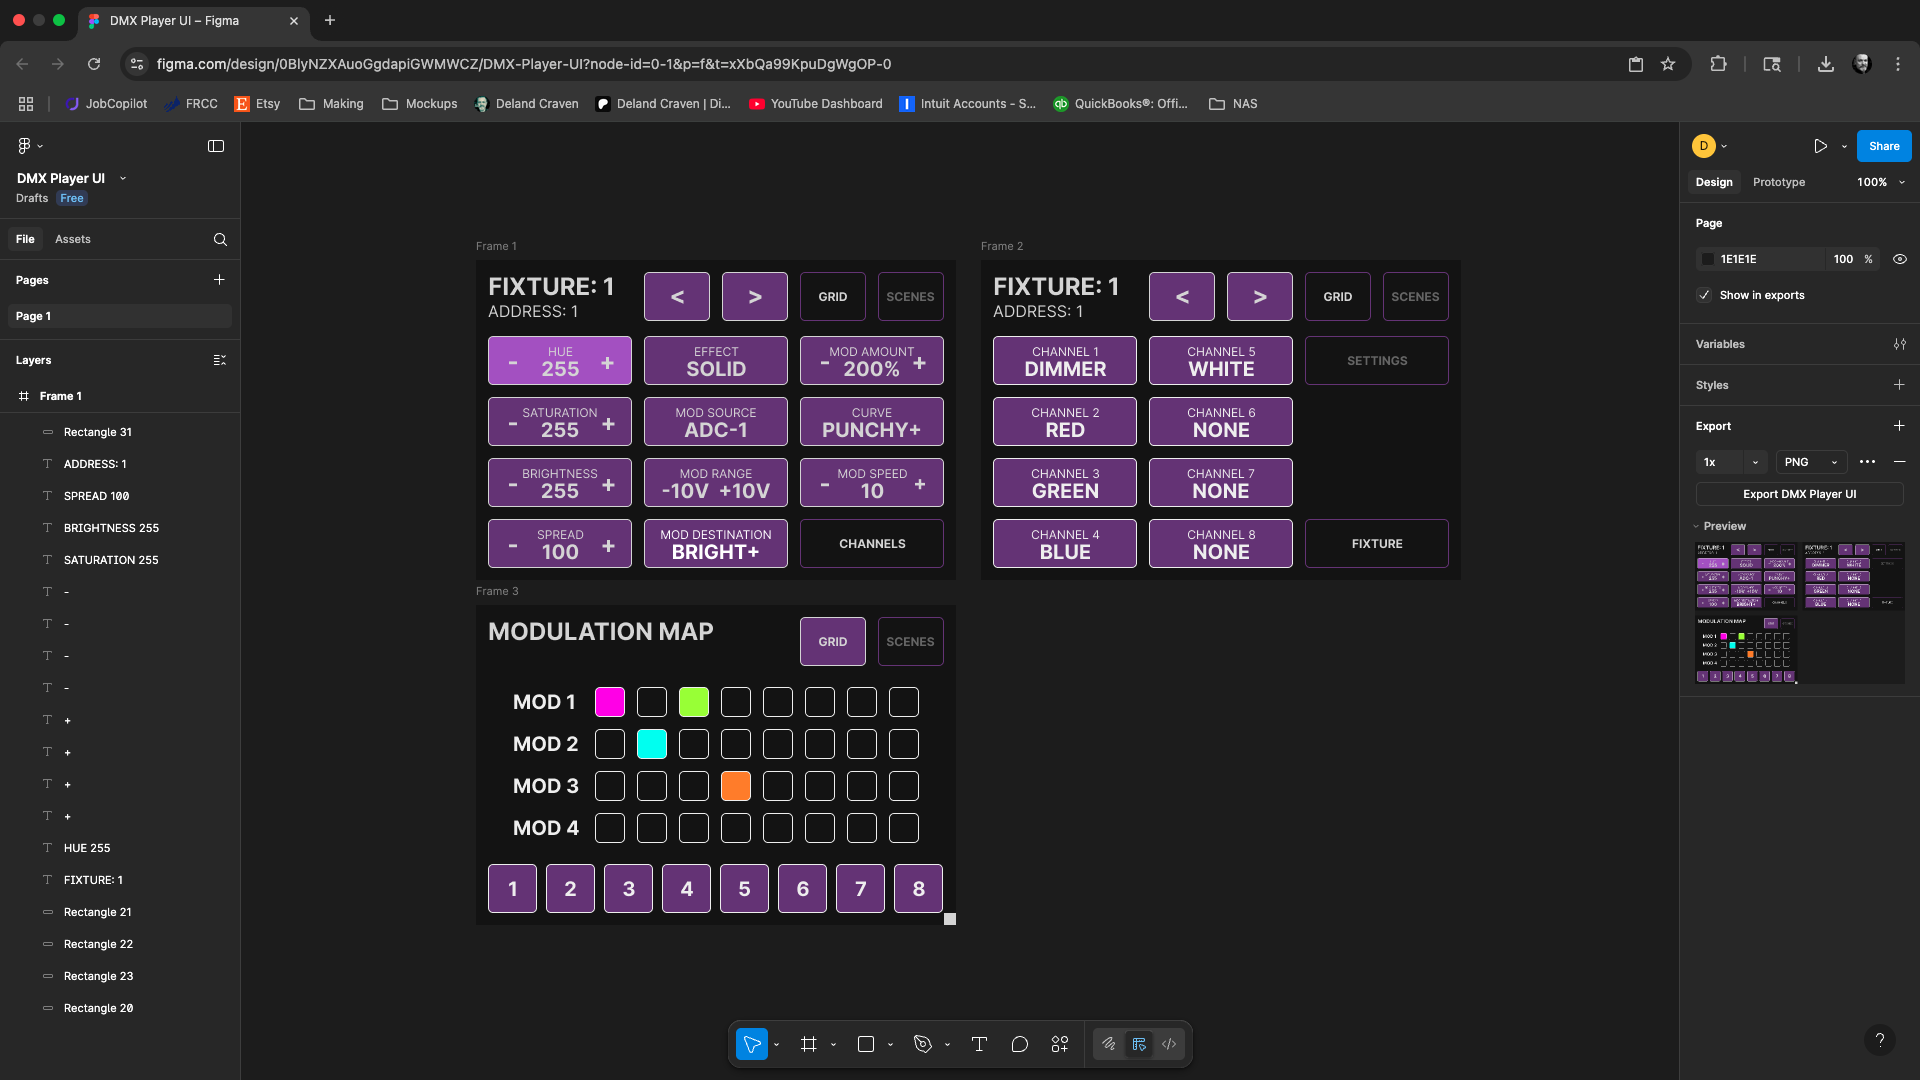
I also learned the ins and outs of the DMX protocol. Coming from a world of RGB strips and NeoPixels, this felt like stepping into pro lighting. DMX opened the door to fixtures with more power, precision, and complexity—and with it, a whole new level of possibility for my future projects.

More than anything, this project reminded me that building something immersive means understanding every layer—from signal to story, hardware to human experience. And that every challenge along the way? That’s where the good stuff lives.